Report Writer
EVA Netmodeler includes a standard report writer utility, accessible as a browser. The report writer is an easy way to get customised reports and displays from the repository. Users can select the desired type, choose what
properties and relationships to include, set up to three sort sequences and define and activate temporary filters to further customize the report content.
Reports can be named, saved, recalled by name and associated with user menus for quick access. Reports that have been associated with user menus can also be launched from outside of EVA Netmodeler, such as from a corporate
Intranet or the Internet. External access can be granted via the anonymous access feature, so users do not even have to log on to the tool to run the reports and view the results.
This section contains the following topics:
Report Browser Overview
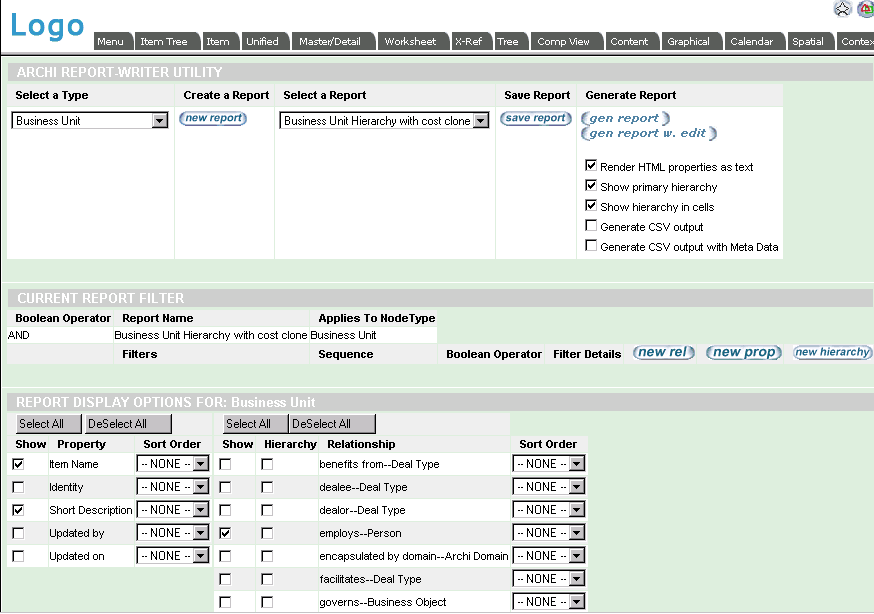
The general EVA Netmodeler navbar appears on almost all pages. See further help for the Navbar

Report Selection
Select the Type to Base the Report On
After you select the type on which to base the report, EVA Netmodeler will display a New Report button, and optionally a
list box with the existing reports that have been defined for the selected type and that are accessible to the current user.
Creating a new report
Selecting the New Report button will create a new report based on the selected type. Note that access to all new reports is restricted to the user who created the report until such time as this is changed using the
EVA Netmodeler security facilities.
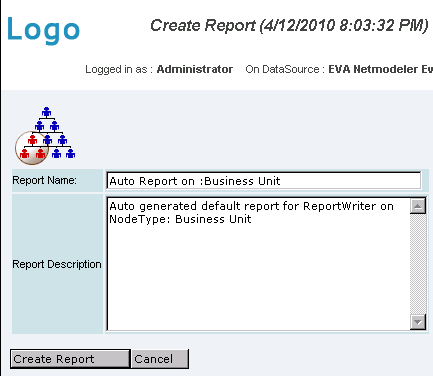
EVA Netmodeler will create default Name and Description properties for the new report. Sometimes it is convenient to
use the default name, for example when you are creating a once-off report that will probably not be used again, but normally you should improve the default report name and description to better describe the report.
Select Create Report to create a new report.
Changing or running an existing report
Select the name of an existing report from the selection box to edit or run the report.
Cloning an existing report
Select an existing report from the selection box to load the report definition. Then select the Save Report button and save
the report under a new name. This will create a clone of the original report definition and set the report browser focus to the new report definition.
Saving a report definition
the definition of the item, inviting you to select which attributes and relationships you are interested in. You can also select up to three items to sort on.
Generate Report
The Generate Report section has the following options:
- Gen report generates the report output based on the current report definition
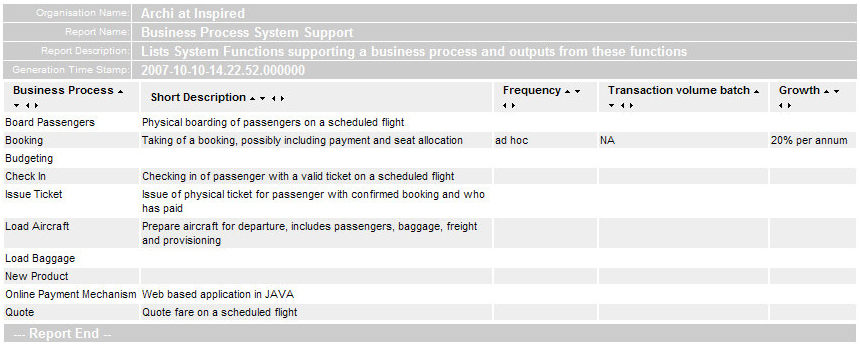
- Gen report w. edit generates a report with the following editing features:
- The report has a Delete button at the top, and each line item in the report has a delete check-box next to it. Pressing the Delete
button will delete every item in the report that has a check in its delete check-box.
- Each line item in the report has a [=] button next to it which, when selected, will open a standard GIDE item display and edit window for that item.
- Related items (see Report Content Specification below) can also be viewed and deleted in this manner.
- This feature respects the standard EVA Netmodeler security i.e. you will only get edit capabilities if you have the acces rights to do so elsewhere too.
- Render HTML properties as text
This option is applicable to properties that contain HTML tags. By default EVA Netmodeler
will interpret the content of HTML properties and display the resulting formatted output. When this option is selected,
properties containing HTML display the raw HTML text stream. This option is useful when you intend to export the resulting report as a Comma Separated Values file and wish to preserve the HTML markups. Note that
errors in the HTML tags may result in problems with the rest of the report output. If this occurs, render these properties as text, locate and correct the problem and rerun the report. Below is an example of a report
containing an HTML property rendered first as normal and then as text.
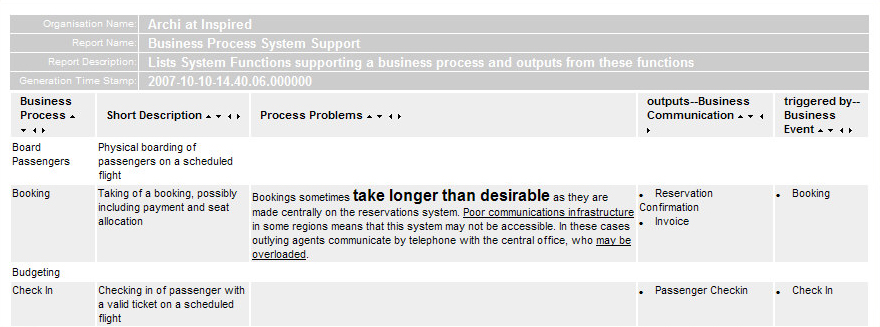
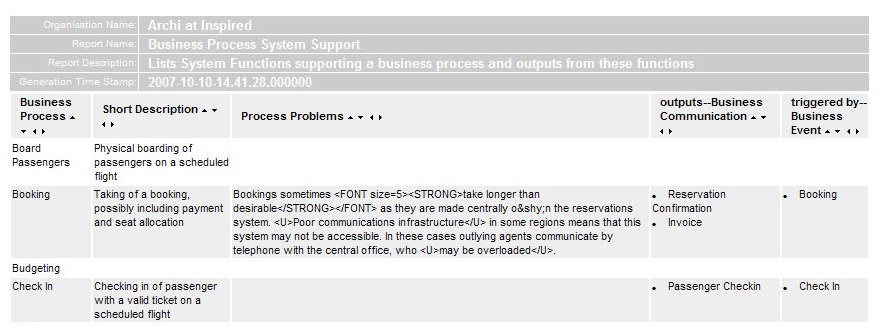
- Show a primary hierarchy
If the type on which the report is based has at least one relationship defined with itself, this option will display
the report items as a hierarchy, starting at the root node and successively indenting its children, its children's children etc, provided that the children themselves satisfy the report filter criteria. In the example below this option has been used to display the Business Units hierarchy in the report. Note that items that are found to
be decedents of an item are only reported within the parent item's hierarchy i.e. they are not repeated elsewhere in the report. Although this can be extremely useful when used appropriately, it can also lead to
confusion when the user of the report is not familiar with the hierarchical structure of the report's main item.
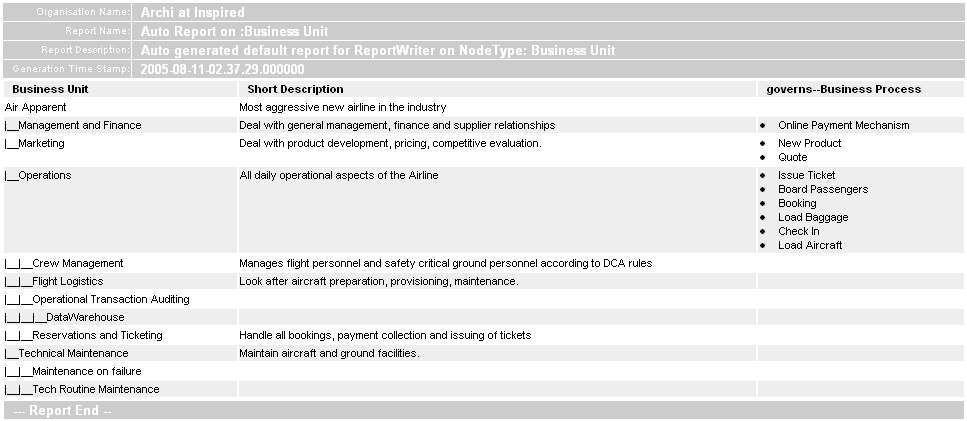
- Show hierarchy in cells
This option works together with any related items in the report which have the relationship Hierarchy check
-box selected. In addition to the relationship Hierarchy behaviour described below, this option affects any selected relationship for which the Hierarchy option has also been selected in the following way: The related
item hierarchy is displayed as the related item next to its direct descendants, followed by each descendent next to its descendants. The resulting output would look similar to the following example. Note that this option
affects all related items in the report which have the relationship Hierarchy check-box selected - it is not possible to set it on per relationship.
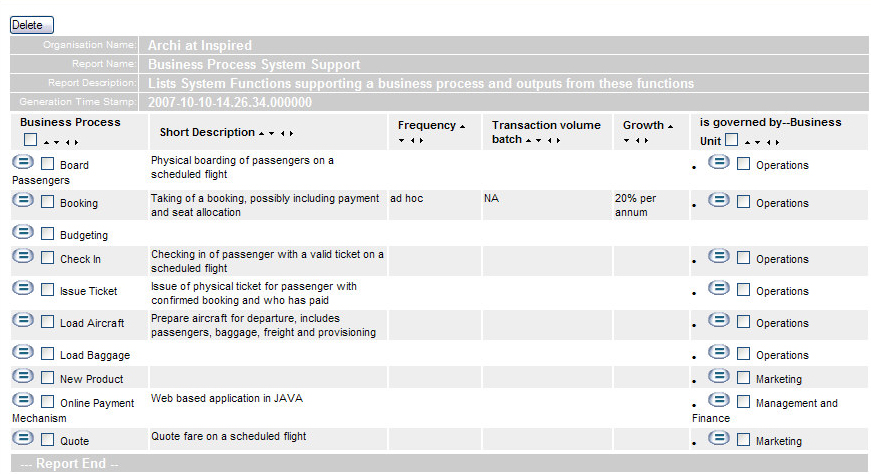
In the example below we can see that the Booking business process is governed directly by the Operations Business Unit, which is part of the Marketing Business Unit.

- Generate CSV output
This option will generate a Comma Separated Values (.CSV) file containing the output from the report, rather
than displaying the output in the browser. Depending on your type of browser and prevailing security settings, you may be prompted to specify an output file name and destination. Refer to the Export using CSV section
for more information on the structure and use of exported CSV files.
- Generate CSV output with meta-data
This option will generate a CSV file with a meta-data header section. This is useful when you want to re
-import the exported data at a later stage. Refer to the Export using CSV section for more information on the structure and use of exported CSV files.

Report Filters
Report filters work in the same way as ordinary filters except for the following differences:
- Unlike ordinary filters that can be defined once and used by other users in different contexts, report filters need to be individually defined for each report in which they are used.
- Report filters only impact the report generation process. The do not have any effect on the rest of the user's session.
- Report filters are applied in addition to any ordinary filters that may be active on the user's session when the report is run.

Report content specification
Select the Properties to Include
Use the check boxes in the left column to select all required properties. Refer to the Sorting section below for information on how to control the sort order of the report.
Select Relationships to Include
- Use the check boxes in the "Show" column to select the relationship types to be shown on the report. Each relationship type selected will become a column on the report. By default, each report row will display the list of
items directly related to that row (if any exist) in a single cell in this column, one below the other. See the Show hierarchy in cells option above and the relationship Hierarchy option below for other options that modify this default behavior.
- Use the Hierarchy check box to indicate which relationships should be examined for hierarchical relationships.
When this option is selected and a related item is found that is related to other items of the same type via the designated default hierarchy relationship, the additional items are included in the report. Related items are prefixed
with a number in brackets () representing how far up the related hierarchy the related item occurs, relative to the
row item. Directly related items are prefixed with (1), parents of those items are prefixed with (2), their parents with (3) etc. Refer to the Show hierarchy in cells section above to see how this behaviour can be further modified to display the related items as a hierarchy too.
Select the Sort Sequence(s)
Use the drop downs next to selected properties or relationships to select a first, second and third sort sequence if required
. If a relationship is selected as part for the sort criteria, the first of the possible list of related items will be used in the sort key.
View Report

|
